> ## Documentation Index
> Fetch the complete documentation index at: https://rive-advanced-topics.mintlify.site/llms.txt
> Use this file to discover all available pages before exploring further.
# Artboards
> Learn how to create, manage, and configure artboards in Rive.
export const VideoEmbed = ({src}) => {
return
;
};
export const YouTube = ({id, timestamp}) => {
const videoSrc = timestamp ? `https://www.youtube.com/embed/${id}?start=${timestamp}` : `https://www.youtube.com/embed/${id}`;
return ;
};
Artboards are the foundation of your composition across both [Design and Animate mode](/editor/fundamentals/design-vs-animate-mode). Each artboard defines a scene with its own dimensions, background, hierarchy, animations, and state machines.
Every Rive file contains at least one artboard, but you can create any number of artboards on the [Stage](/editor/interface-overview/stage).
Artboards can also be converted to [components](/editor/fundamentals/components), allowing you to create and control multiple instances of an artboard within your composition.
## Creating Artboards
### From a New Rive File
When you create a new Rive file, you'll be prompted to create an artboard. Choose a size from one of the presets, or enter a custom width and height. You can resize the artboard at any time.
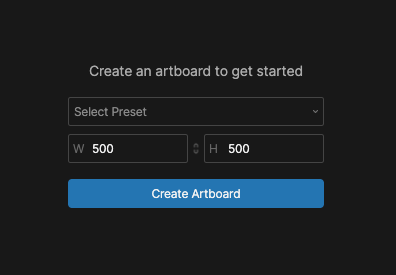 The width and height define the artboard's dimensions in Rive. The size and aspect ratio at runtime may differ depending on the available space and your [layout settings](/editor/layouts/layouts-overview).
Artboard dimensions are measured in units rather than pixels. For example, if a 500-unit-wide artboard is displayed at 1000 pixels wide, each unit represents 2 pixels. For simplicity, you can often treat these units like pixels while working in the editor.
### Creating Additional Artboards
A Rive file can contain multiple artboards.
Select the **Artboard Tool** or press **A**.
Click and drag anywhere on the stage to create an artboard.
Artboards can't be nested directly inside other artboards. To nest an artboard, first convert it to a [component](/editor/fundamentals/components).
### Copying Artboards
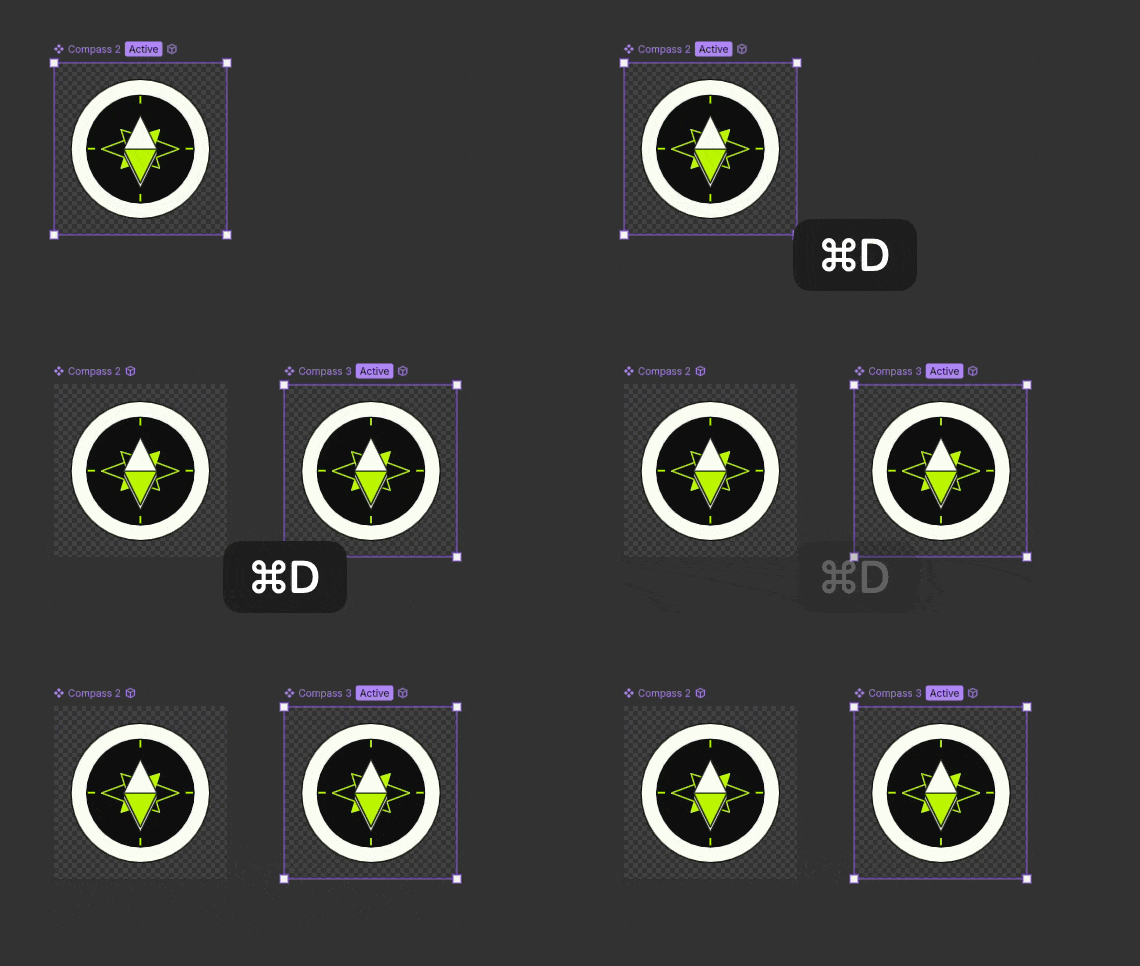
Select an artboard and press **Cmd/Ctrl + D** to duplicate the artboard and all of its contents.
The width and height define the artboard's dimensions in Rive. The size and aspect ratio at runtime may differ depending on the available space and your [layout settings](/editor/layouts/layouts-overview).
Artboard dimensions are measured in units rather than pixels. For example, if a 500-unit-wide artboard is displayed at 1000 pixels wide, each unit represents 2 pixels. For simplicity, you can often treat these units like pixels while working in the editor.
### Creating Additional Artboards
A Rive file can contain multiple artboards.
Select the **Artboard Tool** or press **A**.
Click and drag anywhere on the stage to create an artboard.
Artboards can't be nested directly inside other artboards. To nest an artboard, first convert it to a [component](/editor/fundamentals/components).
### Copying Artboards
Select an artboard and press **Cmd/Ctrl + D** to duplicate the artboard and all of its contents.
 ## Managing Artboards
Each artboard has its own hierarchy, animations, state machines, and properties.
### Hierarchy
Each artboard has its own hierarchy containing the objects that belong to that artboard. Select an artboard to view its hierarchy in the Hierarchy panel.
See [Hierarchy](/editor/interface-overview/hierarchy) for more information about organizing and navigating objects.
### Animations & State Machines
Animations and state machines belong to individual artboards. Select an artboard to view and edit its animations and state machines.
See [Animations](/editor/animate-mode/animate-mode-overview) and [State Machines](/editor/state-machine/state-machine) to learn more.
## Artboard Properties
Select an artboard to view and edit its properties in the Inspector.
## Managing Artboards
Each artboard has its own hierarchy, animations, state machines, and properties.
### Hierarchy
Each artboard has its own hierarchy containing the objects that belong to that artboard. Select an artboard to view its hierarchy in the Hierarchy panel.
See [Hierarchy](/editor/interface-overview/hierarchy) for more information about organizing and navigating objects.
### Animations & State Machines
Animations and state machines belong to individual artboards. Select an artboard to view and edit its animations and state machines.
See [Animations](/editor/animate-mode/animate-mode-overview) and [State Machines](/editor/state-machine/state-machine) to learn more.
## Artboard Properties
Select an artboard to view and edit its properties in the Inspector.
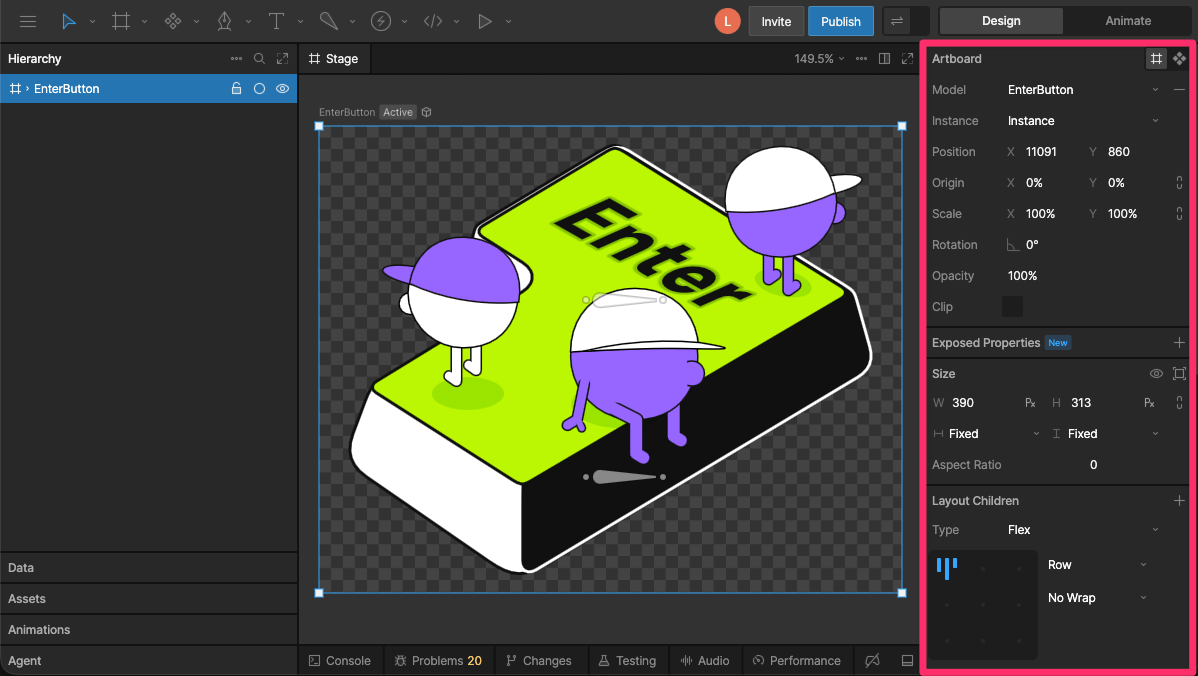 * **Transform** - Set the artboard's position, size, scale, rotation, and origin.
* **Layout** - Control how the artboard responds when its size changes. See [Layout](/editor/layouts/layouts-overview).
* **Fill** - Set the artboard's background color.
* **Model** - Choose the [view model](/editor/data-binding/binding-data) associated with the artboard.
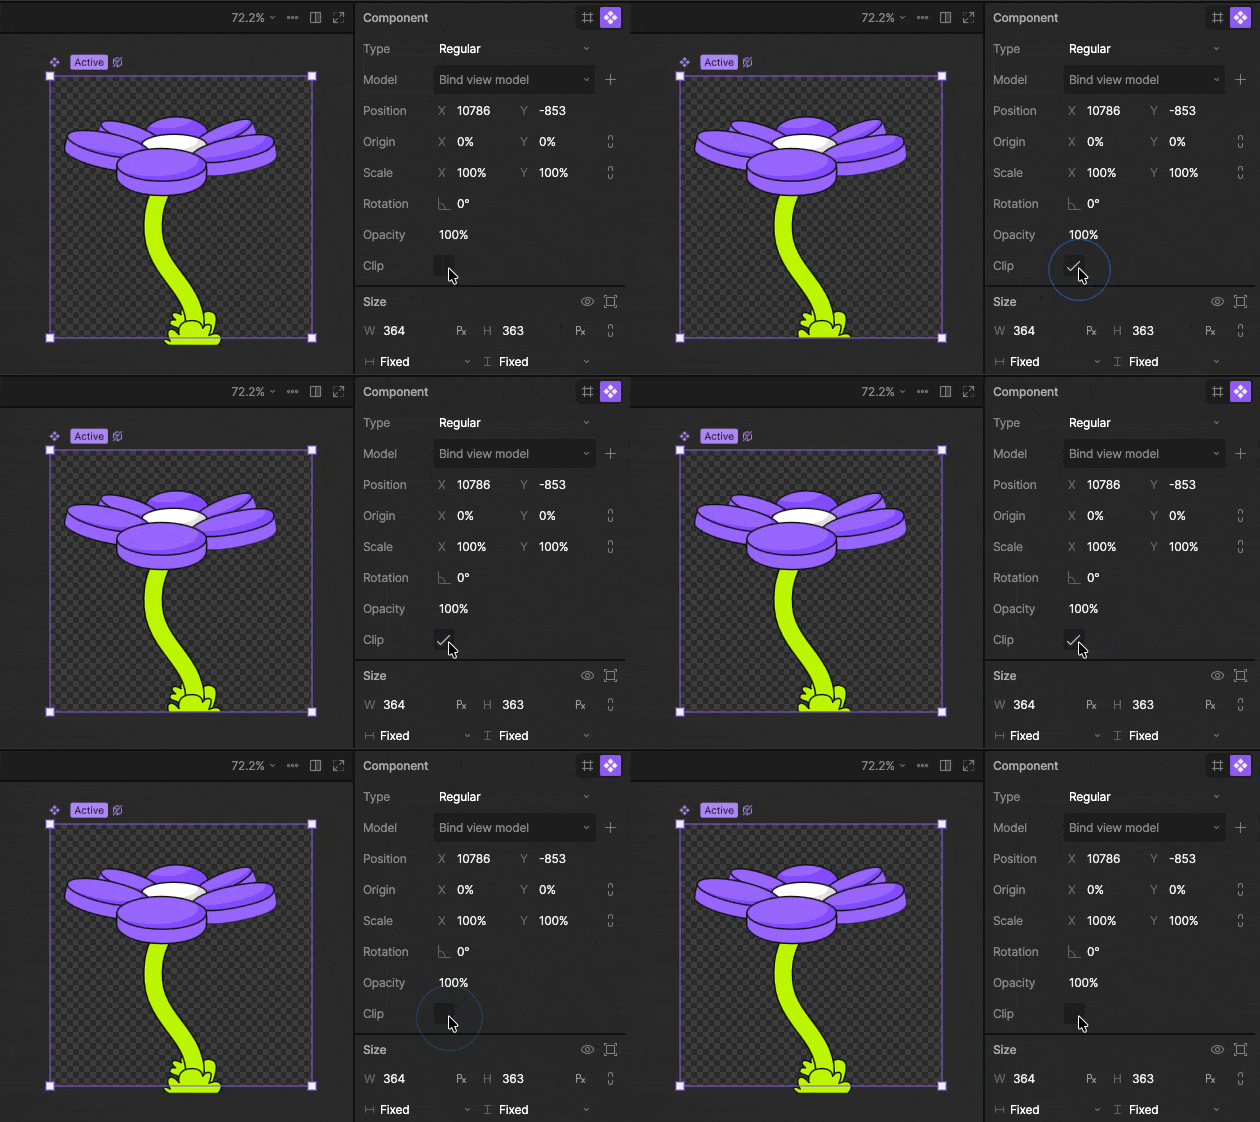
* [Clip](#clip) - Control whether content outside the artboard's bounds is visible.
### Clip
Enabling the **Clip** toggle hides content that extends beyond the bounds of the artboard.
Clipping can be expensive to render, so only enable it when needed.
In most cases, you don't need to enable **Clip** on a top-level artboard because content outside its bounds isn't rendered at runtime.
* **Transform** - Set the artboard's position, size, scale, rotation, and origin.
* **Layout** - Control how the artboard responds when its size changes. See [Layout](/editor/layouts/layouts-overview).
* **Fill** - Set the artboard's background color.
* **Model** - Choose the [view model](/editor/data-binding/binding-data) associated with the artboard.
* [Clip](#clip) - Control whether content outside the artboard's bounds is visible.
### Clip
Enabling the **Clip** toggle hides content that extends beyond the bounds of the artboard.
Clipping can be expensive to render, so only enable it when needed.
In most cases, you don't need to enable **Clip** on a top-level artboard because content outside its bounds isn't rendered at runtime.
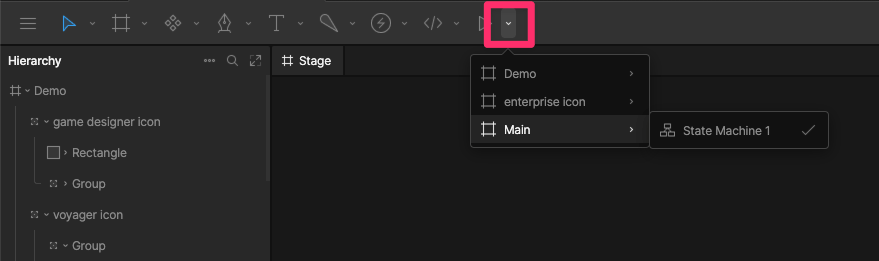
 ## Default Artboard & State Machine
The default artboard and state machine are used at runtime when an artboard or state machine isn't explicitly specified.
To change the default, use the dropdown to select the artboard and state machine you want to use.
## Default Artboard & State Machine
The default artboard and state machine are used at runtime when an artboard or state machine isn't explicitly specified.
To change the default, use the dropdown to select the artboard and state machine you want to use.